The baggage compartment sits in between bulkhead F-705 and F-706, which is right behind the seats. There are 9 panels that finish the interior of this area. The build manual has one use blind rivets to secure most of these, but I have elected to install nut plates all around so that the sides and floor of the compartment will be accessible. As I have previously mentioned, this was primarily motivated by the possibility that I may have to repair or replace the steps someday since they seem to have a history of cracking.
Here are two of the four panels that make up the lower baggage compartment sides. I'm in the process of adding the necessary nut plates.

Then I moved on to preparing the baggage floors for priming.

baggage compartment hanging in the paint booth.

Once all of the panels are primed it's just a simple matter to install with AN8R8 screws. I used counter sunk types for the floors for a smooth surface, but stayed with the standard pan head type for the sides.
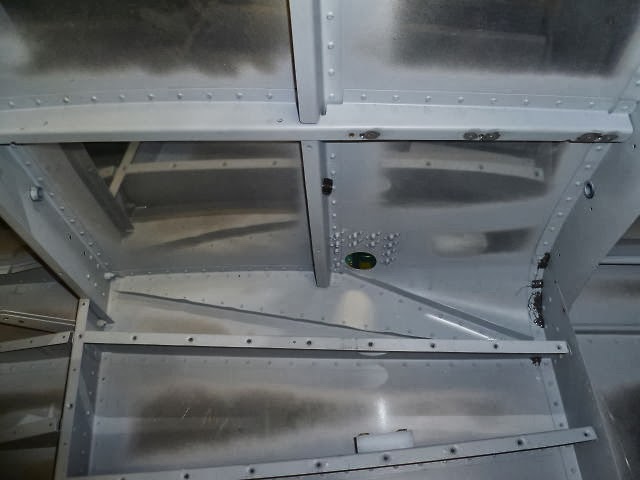
This is the right side baggage compartment side and floor. At the center, the entrance for the step is visible. The white plastic do-dad is where the step mounting terminates.
Seat panels are set with pull rivets.

Rosie the riveter.


Baggage floor and side panels in place.

First test fitting of lower rear panel.

This is the center tunnel cover. The elevator push tube and electrical wiring will eventually inhabit the center tunnel.

The upper rear baggage panel is laid out. Basically it's just cutting big round corners at the top and cutting in some slots for the seat belts attachment cables to go through.


Beyond this point, there are just some plastic wear blocks to install that protect the rear panels from the seat belt cables, but that's pretty much all there is to the baggage compartment. The seat pans and forward seat skins shown below are just a bonus for the loyal reader. You're welcome.

No comments:
Post a Comment