
After an extended period of agonizing indecision I've finally made my selection regarding the paint scheme. My next step is to try and calculate the amount of paint I will need. The paint store says I will need about 1 gallon per 350 square feet. Having painted a few cars in the past, I know that I will probably be unable to achieve the very light coats and good coverage that a professional would do. I've had pretty good results with the lay it on heavy and then sand off every thing that doesn't look like a car method. I'll try that with the airplane.
But how should I estimate paint required? Hmm... How big is my airplane, I think. I decide to break the problem down into very small pieces a, la, Leibniz and Newton. Summing the infinitesimals I arrive at the value 470 square feet.


There's 1.5 gallons each of primer and base coat, plus two gallons of clear coat. I have 1/2 gallon of the blue base coat and a quart of the gray. I figure I will just get started and see how far the paint goes.
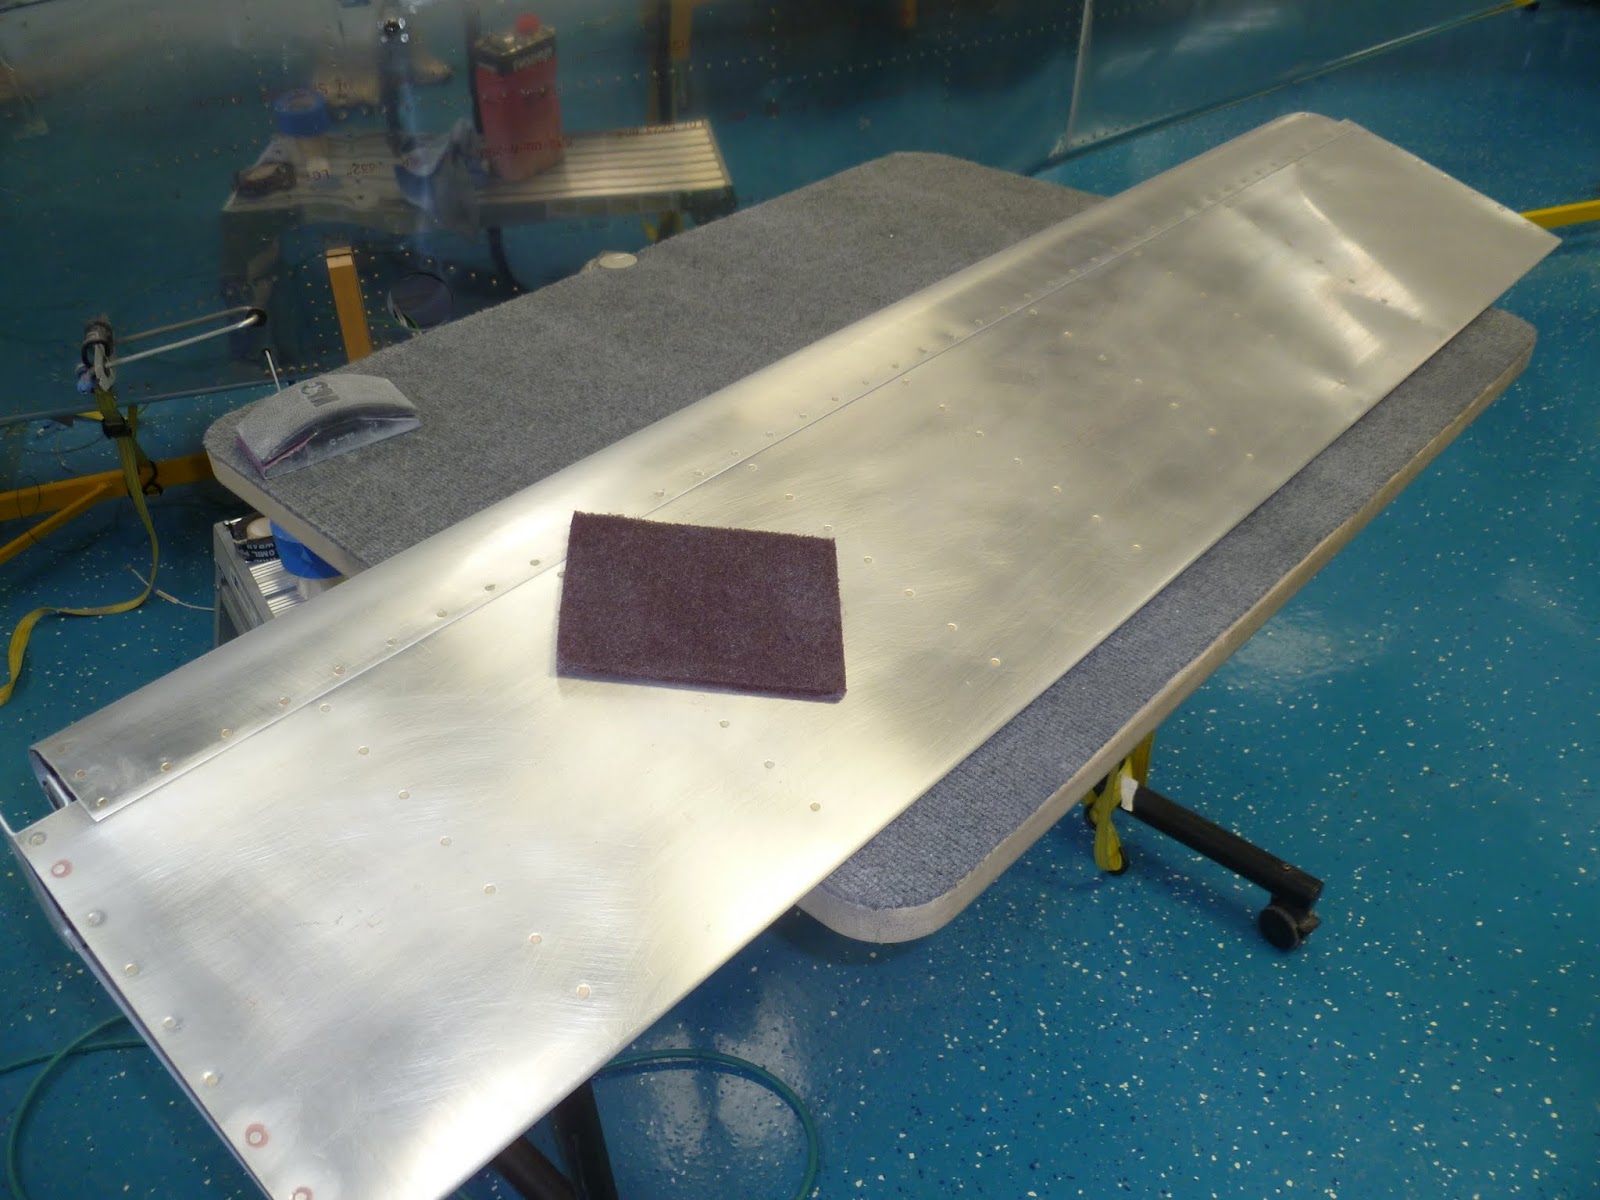
I'll start with the small pieces and work up to the Fuselage. First scuff with a Scotch pad. Here is an aileron:


The first coat is epoxy based primer

Here are the flaps and ailerons getting there base and clear coats. The white is a three part process: Two coats of white base coat, then two mid coats with pearl, and finally two coats of clear over the top.

And the mad painter himself:

Finally, here is the horizontal/vertical stabilizer fairing. All purdy and everything.

The small pieces came out just fine. I'm now confident that I understand the processes well enough and am ready to move on to the larger and more complicated parts like wings and fuselage.
No comments:
Post a Comment