So as we have seen in previous postings, the build order is temporary assembly, match drill mating components, disassemble, prime, and finally reassemble.
So the pieces have all been match drilled and now they come apart. I like this view because with the side skin off, it resembles a cut-a-way drawing.
Going,
Going,
Gone!
So sad to be back here again, but its all necessary so that we can debur, dimple and prime. Here are the forward longerons -- deburing in progress.
One row dimpled and one to go on the side skin to tail cone interface.
Most of the longerons are too thick to dimple, so they must be machine counter sunk.
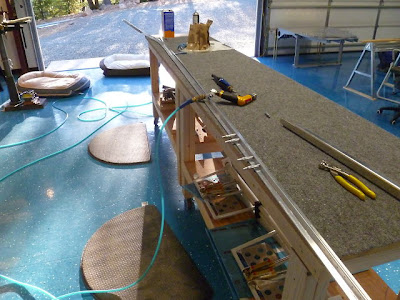
Here is the main longeron in process. I guess I should have made my shop bigger.
And at this point I discovered that I failed to match drill a couple of holes in one of the longerons. Since I already had the skins off there was nothing to locate the hole's locations without reassembling the longeron to its mating side skin. Fortunately, I remembered reading about this happening to another builder who used his other longeron (which had the holes) as a reference to locate the missing ones. After clamping the two back to back the whole calamity was quickly averted. Here is a photo with the longeron ready to be drilled. The missing holes were in between the two sets of clecos.
Nut plates being attached to the back of the side skins to attach the steps.
And thats all he wrote. Well, not quite. I'll finish this posting by noting that the reader has been spared the life threatening tedium of a lot of pictures of the seemingly endless parade of deburring and dimpling that followed the teardown.
So to recap where we are: All of the forward fuselage frame, from the tail cone to the firewall, has been disassembled, deburred, dimpled and primed. In the next post, Carol the riveter returns as she helps me to permanently reassemble the newly prepared pile of parts.


No comments:
Post a Comment